Iron Patch onto Hat: Easy Guide and Tips for Perfect Placement

Customizing hats with patches is a fun and easy way to personalize your style. Whether you’re a seasoned crafter or a beginner, this article will give you the knowledge and confidence to apply patches successfully. This step-by-step guide offers clear instructions for applying patches to hats, minimizing the risk of mistakes or damage. You’ll learn about appropriate materials, ideal application techniques and how to troubleshoot common problems.
1. Preparing to Iron a Patch onto a Hat
1.1 Gathering Your Materials
Before you even think about applying that iron-on patch, taking a few minutes to gather everything you’ll need is a smart move. You’ll want to have your chosen iron-on patch ready, along with the hat you’re planning to personalize.
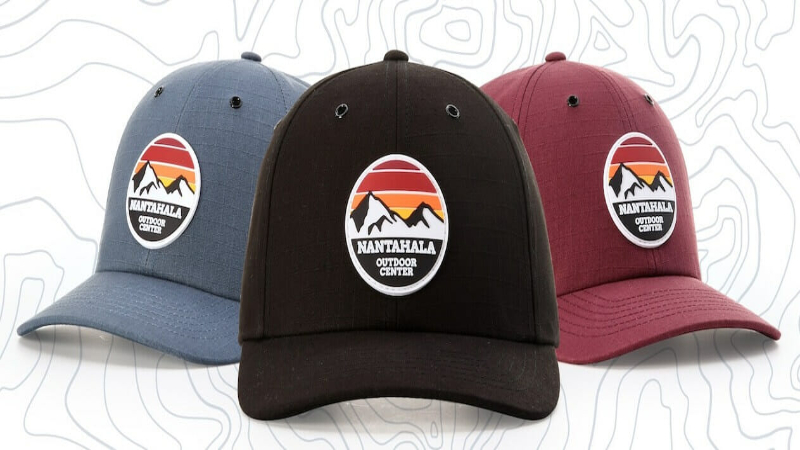
1.2 Choosing the Right Patch and Hat
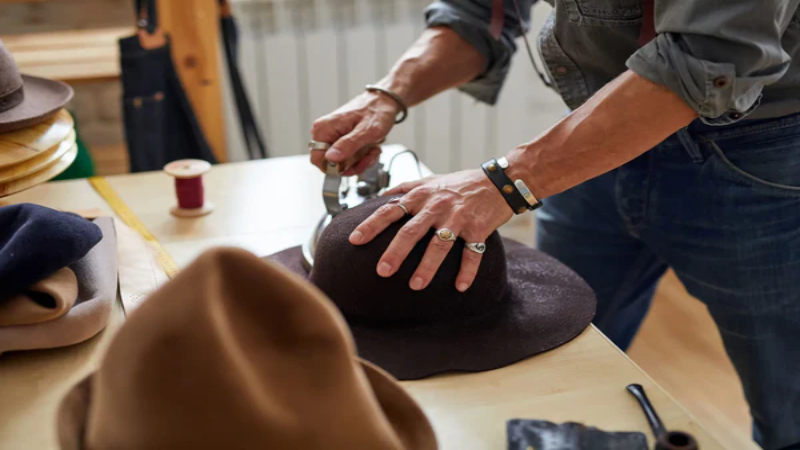
Choosing the right patch and hat combination is a really important first step to ensure your customization project goes smoothly and looks fantastic. Before you get too excited about a particular patch, take a close look at your hat and think about the material it’s made from. You need to make sure that hat material can handle the heat from an iron.
Some fabrics are just too delicate and will melt or scorch easily. A good rule of thumb is to check the hat’s care label – if it says “no iron” or “cool iron only,” you’ll need to be extra cautious, or perhaps consider a different method of attachment altogether.
To be absolutely sure, it’s always wise to test a small, inconspicuous area of the hat before you commit to applying the patch to the main area. Find a hidden spot, like an inside seam or the underside of the brim, and apply a little heat from your iron (using a pressing cloth, of course). Watch closely to see how the material reacts. If you notice any changes in texture, color, or if the material starts to look like it’s melting or shrinking, then ironing is likely not the best option for that hat.
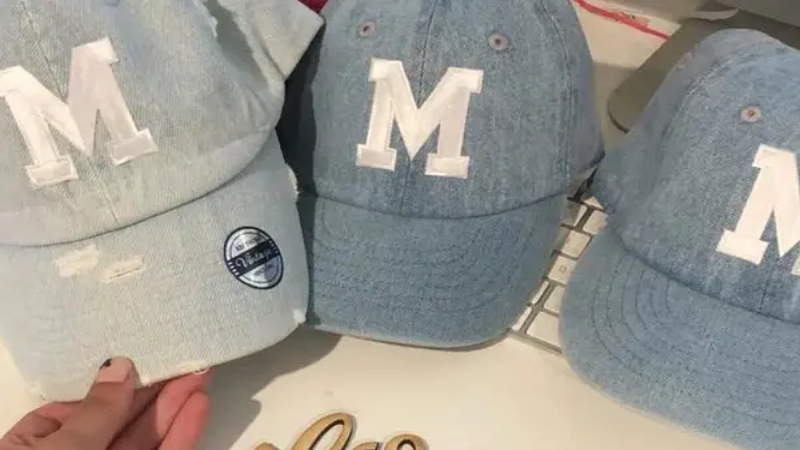
Now, let’s talk about patch types. You’ll find embroidered, woven, and printed patches, and they each have slightly different characteristics when it comes to ironing. Embroidered and woven patches are generally more durable for ironing because they are made of threads that are less likely to be affected by heat compared to some printed designs.
They tend to hold up well to the heat needed to activate the adhesive backing. However, you should be a bit more careful with patches that have a plastic backing, especially if you’re working with a heat-sensitive hat. The plastic could melt or warp under the iron’s heat, potentially damaging both the patch and the hat. If you’re using a more delicate hat material, it might be better to choose patches without a thick plastic backing, or consider sewing the patch on instead for a safer, more secure attachment.
1.3 Setting up Your Workspace
Now that you’ve got your materials and chosen the perfect patch and hat, setting up your workspace properly is the next key step for a successful iron-on application. First things first, you absolutely need a flat, stable surface to work on.
An ironing board is designed for this kind of task and works wonderfully. The reason a stable surface is so important is that it allows you to apply even pressure when you’re ironing. Uneven pressure can lead to the patch not adhering correctly in some areas, or even worse, shifting during the process and ending up crooked. If you don’t have an ironing board, a sturdy table will work just as well, just make sure it’s protected with a thick pad or folded towel to cushion it and protect the surface from the heat.
The goal here is to create a solid, stable base that mimics the shape of your head and provides a flat-ish surface to iron onto. Make sure you stuff it firmly enough that the hat holds its shape and doesn’t wobble or sink when you press down on it. This stuffed base will give you the even surface you need for consistent heat application and a smoothly applied patch.
Steam can actually be detrimental because moisture can damage some hat materials and, more importantly, it can interfere with the adhesive bonding process of the patch. The high, dry heat is what’s needed to activate the adhesive on the back of the patch and create a strong, lasting bond with the hat fabric.
2. Step-by-Step Guide to Ironing on a Patch
2.1 Positioning the Patch
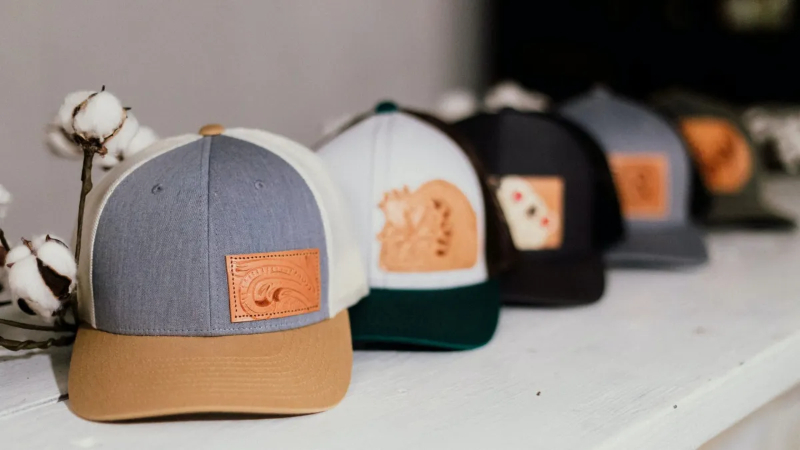
Before you actually heat up that iron, taking a moment to carefully position your patch is absolutely crucial. Think of it like planning the artwork on a canvas – the placement makes all the difference! You’ll want to really consider the style of your hat and the design of your patch to figure out the most visually appealing spot.
Is it a bold, central placement you’re after, or something more subtle and off to the side? For hats like baseball caps, beanies, or fedoras, symmetry and visual balance are often key to a polished look. You want the patch to feel like it belongs there, enhancing the hat’s style rather than looking awkwardly stuck on.
To help you visualize and get it just right, use a tailor’s chalk or a washable marker to lightly mark the position you’re considering. These tools are perfect because they allow you to make precise marks that will easily disappear later. Place the patch on the hat, step back, take a look in a mirror, and adjust the position until you’re happy with how it looks.
2.2 Applying the Heat
Carefully place the patch onto the spot you marked, making absolutely sure that the adhesive side is facing down, directly against the hat fabric. This is a detail you don’t want to overlook! Once the patch is in place, take your pressing cloth and completely cover the patch. The pressing cloth is your best friend here, acting as a shield to protect both your hat and the patch from the direct, intense heat of the iron.
2.3 Cooling and Finishing
After you’ve applied heat for about 30 seconds, carefully lift the pressing cloth and resist the urge to touch the patch right away! It’s important to let the patch cool down completely. This cooling period is crucial because the adhesive is still setting as it cools. Trying to check it too soon can actually disrupt the bonding process. Give it a few minutes to cool to the touch.
Once the patch is cool, it’s time to check if it’s securely attached. This is a simple but important step to ensure your patch stays put. Gently tug at the edges of the patch with your fingers. Don’t pull hard, just a gentle nudge to see if there are any areas that feel loose or like they might be lifting.
Pay particular attention to the edges and corners, as these are the most common spots for patches to come loose. If you find any areas that aren’t fully bonded, don’t worry, it’s an easy fix! Simply place the pressing cloth back over the patch and repeat the ironing process, focusing your heat and pressure specifically on those loose areas.
You might only need to apply heat for another 10-15 seconds this time. After re-ironing, let it cool completely again and then re-check by gently tugging at the edges. This simple check and re-iron process is well worth the few extra minutes, as it ensures a really long-lasting application and prevents your patch from peeling off later on. Taking these finishing steps will give you confidence that your customized hat is ready to wear and show off!
3. Tips for Success and Troubleshooting
3.1 Ensuring Long-Lasting Adhesion
For enhanced adhesion, especially with larger patches, you can use a heat press machine. This provides more consistent heat and pressure than a household iron. Applying a heat-resistant seam sealant around the patch edges further improves durability. A heat press offers superior heat and pressure distribution for more secure adhesion. A seam sealant creates an additional barrier, further preventing peeling. Gentle cleaning and careful drying protect both the patch and the hat material.
3.2 Troubleshooting Common Problems
Patch peeling often indicates insufficient ironing time or inadequate heat. Scorching results from excessive heat or a thin pressing cloth. If the patch isn’t adhering to the fabric, confirm that the hat material is suitable for iron-on application. Before applying the patch, always test a small inconspicuous area of the hat. If the patch is peeling, reapply heat carefully using a pressing cloth. Scorching can often be avoided by using a thicker pressing cloth or lowering the iron temperature.
4. FAQs about Ironing Patches onto Hats
4.1 What type of patch is best for ironing onto a hat?
Embroidered and woven patches generally offer superior durability for ironing onto hats due to their construction. Printed patches can also be used but it’s crucial to ensure the ink is heat-resistant to prevent smudging or damage during the ironing process.
4.2 Can I iron a patch onto any type of hat?
Not all hat materials tolerate high heat. Before ironing a patch onto a hat, always check the care label for material type and recommended cleaning instructions. For delicate fabrics like straw or certain synthetics, sewing or fabric glue are safer and more reliable attachment methods.
4.3 How long should I iron the patch?
Iron the patch for approximately 30 seconds, applying consistent pressure. Monitor the adhesion throughout the process; if the patch feels secure, you can stop. If not, continue ironing for a few more seconds, checking frequently to avoid scorching. Adjust the ironing time based on the patch and hat material’s thickness.
4.4 What should I do if my patch starts to peel off?
If your patch starts to peel, reapply heat using the pressing cloth method described previously, focusing on the loose areas. For added security, use a fabric adhesive to reinforce the edges and prevent further peeling.
4.5 Can I remove an iron-on patch from my hat?
Removing an iron-on patch from a hat is difficult and may cause damage to the hat material. Applying heat with an iron or hairdryer might soften the adhesive, allowing for careful peeling. However, this method isn’t guaranteed to work cleanly and may leave adhesive residue or damage the hat fabric. Removal is not recommended unless absolutely necessary.
5. Packlove – Providing Services for Custom Patches and Packaging
Packlove offers comprehensive services for designing and producing custom patches, ideal for creating personalized hats. We provide a variety of materials and customization options to meet your specific needs. Our expertise ensures high-quality patches from initial design to final production. In addition to patches, we offer packaging solutions for businesses seeking to enhance their brand presentation. Contact us today to explore how we can help you realize your vision!
Read more:
- Gluing on Patches: Your Ultimate Guide to Perfect Application
- How to Attach Patches to a Jacket: Iron-On, Sew-On & More
- How to Stick Patches on Backpacks: Easy Guide for All Types
This guide equips you with the skills and knowledge to confidently customize your hats. Packlove offers a wide range of high-quality patches and packaging solutions perfect for those who want to take their hat customization to the next level. Explore our options to discover the perfect patches for your next project. We are dedicated to helping you achieve professional-looking results with ease.


