How to Make a Velcro Patch: Easy DIY Guide

Creating custom patches is a fantastic way to inject personality into your belongings, establish a strong brand identity, or simply add a unique touch to your creations. For individuals looking to personalize items, crafters seeking exciting new projects, and businesses in need of budget-friendly branding solutions, custom patches offer a versatile and impactful option. Many people find themselves wanting to explore this creative avenue but are often held back by unclear instructions, uncertainty about the right materials, and concerns about the patch’s longevity. The desire to express individuality, enhance functionality, or effectively promote a brand is strong, and custom patches can be the perfect answer.
This article will equip you with the knowledge and skills to confidently create your own durable velcro patches. You’ll gain a clear understanding of the best materials to use, learn essential design considerations, and master the techniques needed to ensure your patches not only look great but also stand the test of time. By the end of this guide, you’ll be empowered to personalize items with a professional touch, bringing your creative visions to life with ease and confidence.
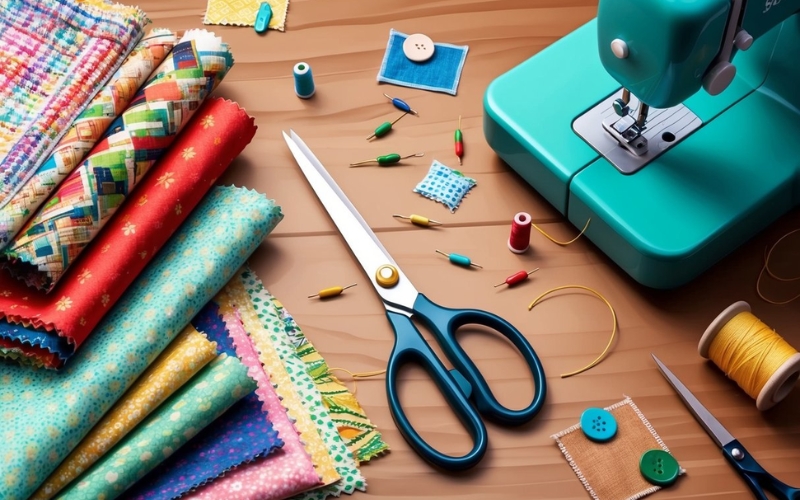
1. Gathering your materials and tools
1.1 Essential materials for velcro patch creation
Creating durable and attractive Velcro patches requires careful selection of materials. For the fabric base, consider cotton and felt. Cotton, with its versatility and absorbency, is excellent for detailed embroidery and more intricate designs. Felt, with its consistent texture and often softer feel, is an excellent choice for simple designs, providing a smooth and even surface for application and reducing the difficulty of complex stitching patterns. The fabric choice largely depends on the intended design complexity and the desired final appearance.
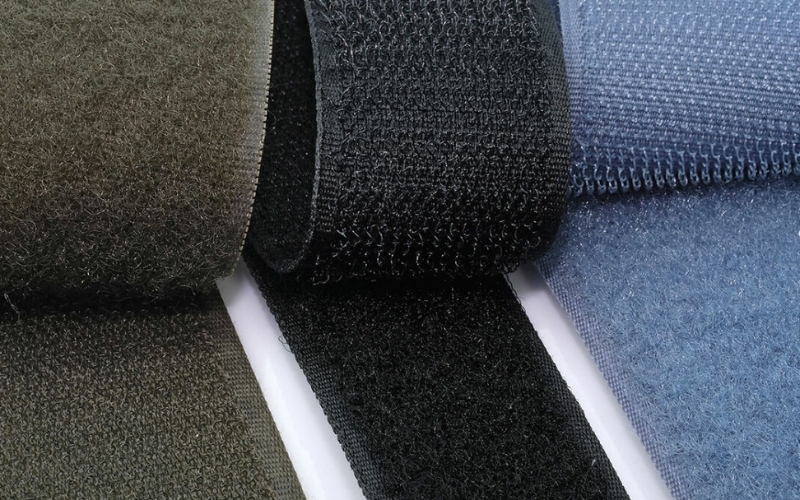
Regarding Velcro, choose from sew-on, adhesive, and hook-and-loop options. Sew-on Velcro is ideal for permanent attachments and works well with a variety of fabrics, including heavier ones. Adhesive Velcro is a convenient option for quick projects or temporary applications. Hook-and-loop fastener strips, comprised of hook and loop sides, are also a popular choice. These versatile fasteners are suitable for items where easy attachment and detachment are needed.
Finally, select appropriate thread. Match the thread color to your patch and fabric for a cohesive look. Consider thread types designed for specific fabrics or projects. You can find high-quality fabrics, Velcro options, and thread at many online fabric stores, craft supply shops, or even large retailers, offering diverse choices to match individual needs and project requirements.
1.2 Tools to make your project easier
Having the right tools at your disposal can significantly streamline the process of creating your velcro patches and ensure a more enjoyable crafting experience. While patch making can be quite straightforward, certain tools are essential, and others can be incredibly helpful depending on your approach and desired level of detail.
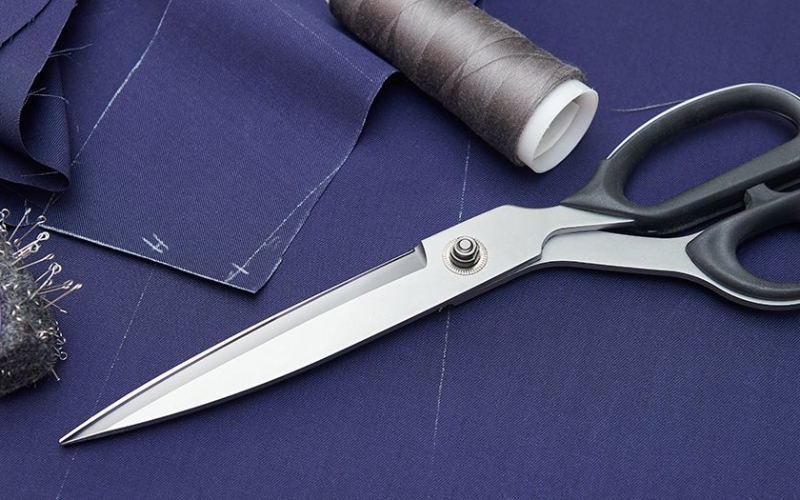
First and foremost, a good pair of scissors is indispensable. You’ll need these for cutting fabric, trimming threads, and precisely shaping your patch design. Opt for sharp fabric scissors to ensure clean cuts and prevent fraying, which is particularly important for achieving professional-looking edges on your patches.
Needles are another absolute must-have. If you plan to sew your patches by hand, a selection of needles in various sizes will be beneficial. Choose needles appropriate for the weight of the fabric you’re using; thicker fabrics will require sturdier needles. Even if you intend to use a sewing machine, hand-sewing needles can still be useful for tacking pieces together or adding small details.
Speaking of sewing machines, while not strictly essential, a sewing machine can be a significant time-saver, especially if you plan to create multiple patches or work with thicker materials. A basic sewing machine will suffice for most patch-making projects, allowing you to quickly and securely stitch fabric layers together and create neat, consistent seams. However, if you don’t have a sewing machine, don’t worry! Hand-sewing is perfectly viable and offers a more traditional, hands-on approach to patch making.
An embroidery hoop can also be a valuable tool, particularly if you’re incorporating embroidery into your patch design. Hoops help to keep your fabric taut, making it easier to stitch intricate designs and prevent puckering. They come in various sizes, so choose one that comfortably accommodates the size of your patch design.
For those wanting to create truly unique and intricate patches, design software can be a game-changer. Software programs allow you to create custom designs on your computer, which can then be printed out as templates or even used with embroidery machines for more complex projects. Whether you’re looking to digitize a logo, create a detailed illustration, or simply experiment with different layouts, design software offers a wealth of creative possibilities.
By gathering these patch making supplies, you’ll be well-equipped to tackle your velcro patch project with greater ease and efficiency, allowing you to focus on the creative aspects and bring your patch ideas to life.
2. Step-by-step guide to making your velcro patch
2.1 Designing your patch (Custom Designs)
The heart of a personalized Velcro patch lies in its design. Explore various approaches to bring your creative vision to life. You can sketch your design on paper, meticulously crafting it by hand, or utilize design templates for simpler ideas. Many free online resources offer a wealth of templates and design inspiration for various styles and themes. Digital design software provides another avenue for creating intricate patterns and personalized patches.
Once you’ve finalized your design, transfer it to your chosen fabric. Several methods exist for transferring designs onto fabric, including tracing with a light-box or carbon paper to create a clear image on the fabric, ensuring the design’s accuracy. Utilize these tools to bring your unique ideas to life, whether it’s a simple logo or a complex illustration. Remember, the beauty of DIY is the ability to create one-of-a-kind Velcro patches that reflect your personality or any creative project you envision.
2.2 Cutting and preparing the patch material (Patch size, patch shape)
Once you’ve gathered your tools, the next crucial step in creating your DIY velcro patches is accurately cutting and preparing your chosen materials. This stage lays the foundation for the entire project, and taking the time to do it right will significantly impact the final look and durability of your patches.
When it comes to cutting your fabric, precision is key. Whether you’re working with felt, twill, canvas, or any other material, clean cuts are essential for preventing fraying and achieving crisp, professional-looking edges on your patch.
Using those sharp fabric scissors we discussed earlier is paramount here. Avoid using dull scissors, as they can crush the fabric fibers and lead to ragged edges that are more prone to unraveling. Cut slowly and deliberately, following your pattern or design lines carefully. For intricate patch shapes, it can be helpful to draw your design directly onto the fabric with a fabric marker or tailor’s chalk before cutting. This provides a clear guide and minimizes the chances of making mistakes.
Similarly, when cutting the velcro (both the hook and loop sides), aim for clean, straight cuts. While velcro is less prone to fraying than fabric, neat cuts will ensure a clean finish and optimal adhesion. Cut the velcro pieces slightly smaller than your fabric patch if you want the fabric edge to be visible, or the same size if you prefer a flush finish.
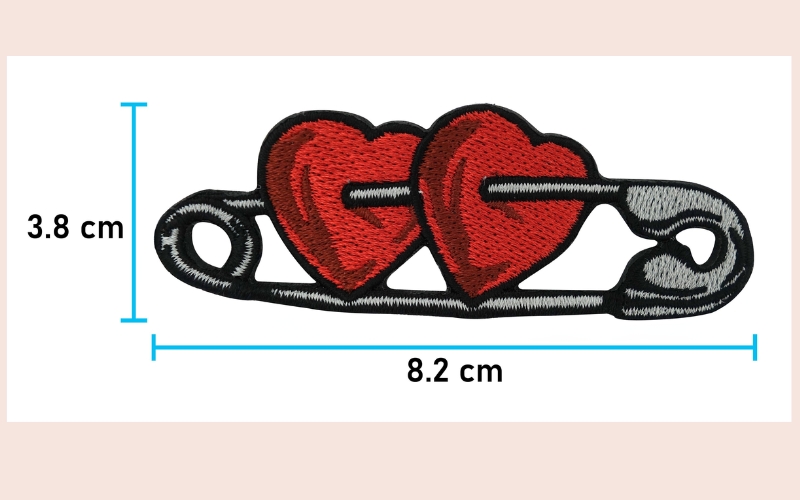
The patch size and patch shape are entirely up to your creative vision, but remember that precise measurements are particularly important when creating custom patches. If you’re aiming for a specific size to fit a particular garment or item, measure carefully and double-check your dimensions before cutting.
For more complex shapes, consider creating a paper template first. This allows you to refine the shape and size before committing to cutting your fabric, saving you from potential fabric waste and ensuring your final patch is exactly as you envisioned. Accurate cutting at this stage is a cornerstone of successful DIY velcro patch creation, setting you up for a smooth and satisfying crafting process.
2.3 Attaching the velcro to the patch (Sew on patch, attach velcro)
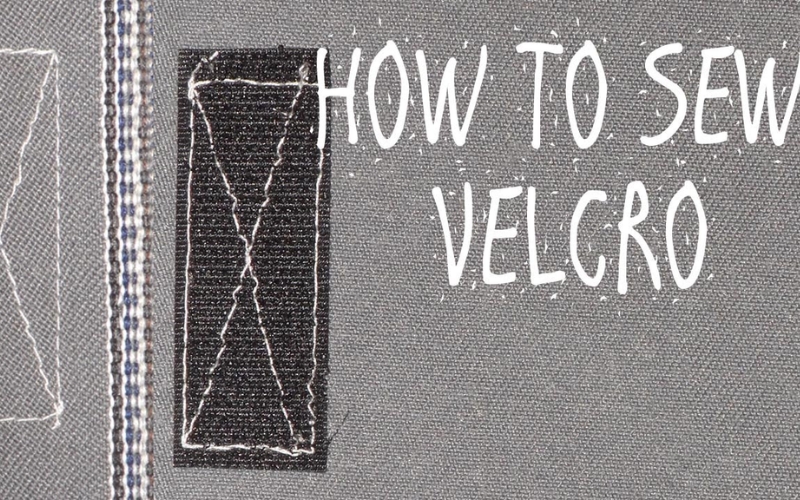
Attaching the Velcro to your patch is a crucial step in creating a functional and durable Velcro patch. This involves either sewing or using adhesive, each with its own advantages. Sewing offers a more permanent and reliable solution, ideal for high-use items. Use a backstitch for added durability, ensuring a tight and secure bond. Visualize this stitch as a series of small, interlocking stitches that reinforce the seam. This technique is highly recommended for preventing the Velcro from coming loose over time.
Alternatively, adhesive Velcro is a convenient option for quicker projects or situations where a more temporary hold is sufficient. Choose an adhesive specifically designed for fabric and follow the manufacturer’s instructions carefully. Consider that adhesives may not hold up as well as sewn-on pieces in high-wear areas or environments with moisture. The best approach depends entirely on the intended use of the patch and the desired longevity. Carefully positioning the Velcro backing and ensuring proper adhesion are essential to prevent unwanted shifting or detachment.
2.4 Finishing touches (Embroidered patches)
Adding finishing touches elevates your custom patch beyond a simple design. Optional steps like embroidery, decorative stitching, or edge sealing can significantly enhance the visual appeal and durability of your project. Embroidery, in particular, allows for intricate details and personalized touches, particularly useful for complex designs or emblems. Thoughtful decorative stitches can outline the patch’s edges or add decorative accents, complementing the patch’s overall aesthetic and adding a unique touch.
Completing the edges of the patch by sealing them often increases longevity and minimizes fraying, ensuring the patch remains in pristine condition, even after repeated use. These finishing touches contribute to the patch’s overall quality and contribute significantly to the final outcome, whether the design is simple or complex.
3. Different ways to attach your velcro patch
3.1 Sewing onto fabric (sew on patch)
Sewing a Velcro patch onto fabric provides a durable and reliable attachment, perfect for patches intended for heavy use or long-lasting personalization. The technique, while requiring some sewing knowledge, results in a strong, lasting bond. The suitability of sewing depends significantly on the weight and type of fabric. For heavier fabrics like denim or canvas, a sturdy needle and thick thread are recommended. Lighter fabrics may require a finer needle and thread to prevent excessive bulk and ensure even stitching.
Precisely matching the thread color to your patch and fabric creates a cohesive look. A backstitch is a highly recommended technique for securing the Velcro, creating a tightly woven seam that prevents the patch from shifting or detaching over time. Careful attention to detail, particularly when working with intricate designs, is key for a polished finish.
3.2 Using adhesive velcro (adhesive velcro, iron on patch)
Adhesive Velcro provides a quick and convenient way to attach patches without sewing, ideal for projects requiring a faster turnaround time. The strong adhesive bond ensures a secure attachment, particularly when used on appropriate surfaces. Various types of adhesives exist, from general-purpose fabric glues to specialized adhesives designed specifically for synthetics. Thorough surface preparation is paramount for effective adhesion. Clean the area where the patch will be placed, ensuring it’s free of dust, dirt, and any debris that could hinder the adhesive’s ability to bond.
For optimal results, consider using an iron-on adhesive Velcro for certain fabrics, especially those that might not be conducive to traditional glues or where a high-heat application is necessary. Carefully following the manufacturer’s instructions, regarding application time and pressure, is essential for achieving the best results, preventing potential issues like the patch lifting or detaching.
4. Related questions
4.1 What type of fabric is best for making velcro patches?
Several fabric types are suitable for creating durable and attractive Velcro patches. Cotton, with its versatility and absorbency, is a popular choice, especially for embroidered designs, offering a good balance between appearance and ease of use. Felt, known for its consistent texture and often softer feel, is well-suited for simpler designs, providing a smooth surface for both sewing and gluing.
Other fabrics, like lightweight linen or even a sturdy canvas, can also work well, contingent on the desired aesthetic and durability needed. The best fabric choice hinges on the design complexity and the anticipated use of the patch. Consider the patch’s intended purpose, along with the overall look and feel you’re aiming for, when selecting your material. Heavier fabrics will typically hold up better to wear and tear.
4.2 Can I make velcro patches without sewing?
While sewing offers a robust, long-lasting solution for attaching Velcro patches, adhesive alternatives provide a quicker and often simpler approach. Iron-on Velcro, in particular, is a convenient option for many fabrics, offering a straightforward method for creating patches without needing a sewing machine or extensive sewing skills. The main advantage of this no-sew method is the speed and ease of application. However, adhesive Velcro’s durability can be a concern, particularly in high-wear areas or for projects requiring exceptional longevity.
The adhesive may not hold up as well to repeated washing or heavy use as a sewn-on patch. Carefully considering the patch’s intended use is key; if lasting durability is paramount, sewing might be the better choice. There are specific adhesives designed for attaching Velcro to various fabrics, but careful testing in a hidden area is always recommended to ensure compatibility and adhesion before applying to the entire patch.
4.3 How do I wash clothing with velcro patches?
Washing clothing with velcro patches requires a careful approach to prevent damage to both the garment and the patch itself. Before washing, ensure the velcro patches are securely attached. If there’s any concern about the adhesive holding, consider using extra precautions such as placing additional fabric or interfacing between the patch and the garment’s fabric. Opt for a gentle cycle in the washing machine or, ideally, hand-wash the garment, especially if the patches are not strongly adhered.
Using a mild detergent is also recommended to avoid damaging the adhesive or the fabric. Subsequent to washing, allow the garment to air dry completely. Avoid using high heat or tumble drying, as these can potentially melt or loosen the adhesive on the velcro patches. Thorough drying helps to prevent wrinkles and ensures the patch remains securely affixed. This gentle approach will preserve the durability of both the garment and the patches.
Read more:
- How Does Velcro Work? The Science Behind the Stick
- Convert Iron-On Patches to Velcro: Expert Guide
- How to Attach Patches to a Jacket: Iron-On, Sew-On & More
Creating personalized velcro patches is a surprisingly easy and rewarding way to add unique flair to your belongings. From the simple elegance of well-chosen materials to the satisfying precision of applying different attachment methods, the journey allows for both creative expression and practical results. Experimentation with various fabrics and designs is encouraged—the possibilities are truly endless! Remember that material selection, the attachment method (sewing or adhesive), and finishing touches all play crucial roles in the patch’s longevity and aesthetic appeal. By carefully considering these factors, you can create durable and visually appealing personalized pieces. If you’re looking for additional supplies like custom woven labels to elevate your finished product or zipper bags to safely store your patches, mypacklove.com offers a range of related products to enhance your project and keep your creations well-organized. Embrace the creativity and personalize your world, one patch at a time


