Iron on Patches to a Backpack: Easy DIY Guide & Tips

Applying iron-on patches to a backpack is a fantastic way to inject personality or mend wear and tear, turning a functional item into something uniquely yours. However, getting these patches to adhere properly and last can sometimes be trickier than it seems.
Many individuals, from students wanting to customize their school bags to travelers fixing up their gear, often find themselves facing challenges in achieving a successful patch application.This often leads to frustration and the risk of damaging the backpack itself. This guide is designed to take away the guesswork.
Inside, you’ll discover straightforward, easy-to-follow instructions, along with recommendations for the best materials to use and helpful tips for troubleshooting common issues. By learning the correct methods, you’ll gain the confidence and skills to apply iron-on patches that not only look fantastic but also stand the test of time. Let’s dive in and explore how to master this satisfying DIY project!
1. Preparing to Iron on Patches
1.1 Choosing the Right Patch and Backpack Material
Material selection is critical for a successful patch application. Compatible backpack materials include cotton, denim and polyester. These fabrics generally withstand the heat required for iron-on patches. Nylon and leather are generally unsuitable due to their sensitivity to heat and potential for damage.
Different patch types embroidered patches, woven patches and printed patches have varying heat tolerances. Embroidered patches, with their raised texture, may require slightly more careful heat application than flat printed patches. The material of the chosen patch should be considered in conjunction with the backpack’s material.
1.2 Gathering Your Supplies
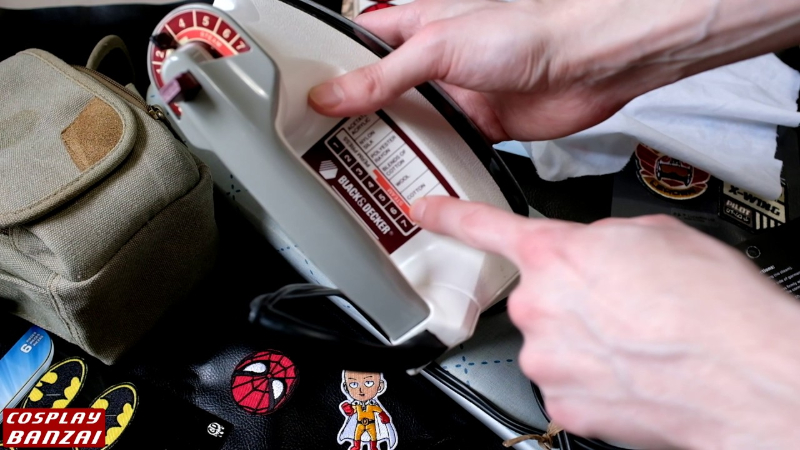
To iron on patches, you will need several key items. First, select your desired iron-on patches. A dry iron is crucial; steam can damage some fabrics and prevent proper adhesion. A pressing cloth such as a thin cotton fabric or parchment paper protects the backpack from direct heat and prevents scorching. Finally, a hard, flat ironing surface such as an ironing board, provides even heat distribution.
2. Step-by-Step Guide to Ironing on Patches
2.1 Preparing Your Backpack
Before applying the patch, clean the designated area of the backpack thoroughly. Remove any dirt or debris that could interfere with adhesion. Iron out any wrinkles or creases on the backpack’s surface to create a smooth, flat area for the patch. A smooth surface ensures even heat distribution and strong adhesion.
2.2 Placing and Ironing the Patch
Carefully position the patch on the prepared area of the backpack. Cover the patch with a pressing cloth to protect the backpack fabric and prevent scorching. Using a dry iron set to a medium heat, apply even pressure in a circular motion for approximately 30 seconds. Even heat distribution ensures proper adhesion.
Adjust temperature based on patch and backpack material; always test on an inconspicuous area first. Ironing time should be sufficient to activate the patch’s adhesive but not so long as to cause damage. Iron-on patch application relies on correct heat application for a durable result.
2.3 Checking and Securing the Patch
You can allow the patch to cool completely before handling. Gently tug at the edges to check for secure adhesion. If the patch is loose, carefully reapply heat using the same technique for a shorter duration. For extra security, you can optionally iron the backside of the patch as well. Visual aids should depict the checking process and any potential loose edges. If necessary, repeat the ironing process but use shorter bursts of heat. Reinforce the patch from the backside for added security.
3. Alternative Methods for Attaching Patches
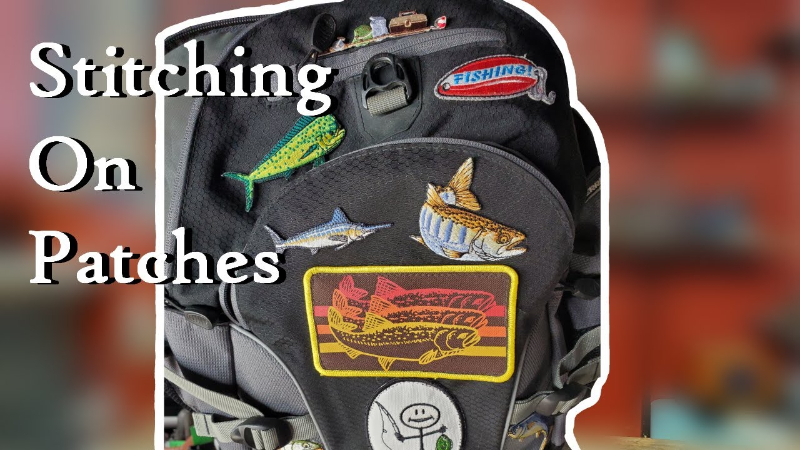
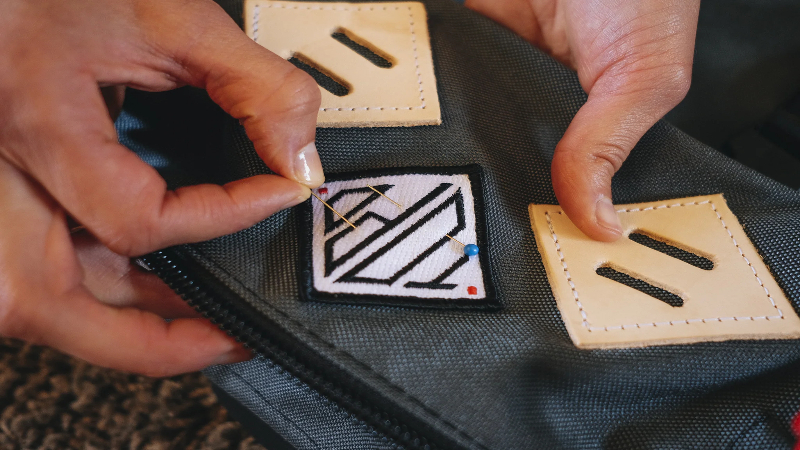
3.1 Sewing Patches onto Backpacks
For materials that don’t react well to heat, or when you’re simply looking for a more permanent solution, sewing patches onto your backpack is an excellent alternative to ironing. Choosing to sew your patches provides a significantly more robust and dependable attachment.
This method is particularly advantageous as it creates a bond that can withstand more wear and tear, making it perfect for areas of the backpack that experience a lot of stress or movement, or anytime you want to be absolutely sure your patch stays put. If you’re not already familiar with sewing, don’t worry! There are many easy-to-find resources that offer basic guidance on both hand sewing and using a sewing machine.
When it comes to sewing, you have a couple of options. Hand sewing is a straightforward and practical technique, especially well-suited for smaller patches or for those who prefer a more hands-on approach. On the other hand, if you’re dealing with larger patches or have several patches to attach, a sewing machine can be a much faster and more efficient tool.
Regardless of whether you choose to sew by hand or machine, the result is a patch that is securely fastened and will last considerably longer than an iron-on application. By using the appropriate sewing techniques, you can ensure your patches are not only firmly attached but also enhance the overall look and longevity of your backpack.
3.2 Using Fabric Glue for Patches
For situations where sewing isn’t ideal and ironing is not an option, fabric glue presents itself as a practical alternative for attaching patches, especially when working with materials that are either too delicate for ironing or difficult to sew. The key to success with fabric glue lies in selecting a product specifically designed for fabrics and known for its strong and lasting hold.
There are numerous brands that offer reliable fabric glues perfectly suited for this kind of application, so taking a little time to explore and compare different options before making a purchase is definitely worthwhile. For a patch that stays firmly in place over time, ensuring you choose a permanent adhesive is absolutely essential.
4. Tips for Long-Lasting Patch Adhesion
4.1 Following Manufacturer’s Instructions
Always consult the patch packaging for specific application instructions. These guidelines are crucial for successful adhesion and vary depending on the patch type. Embroidered patches for instance might require a slightly different heat application than printed patches. Manufacturer recommendations are tailored to the specific patch materials and adhesive. Patch instructions often include temperature and time recommendations for optimal results.
4.2 Patch Placement and Design
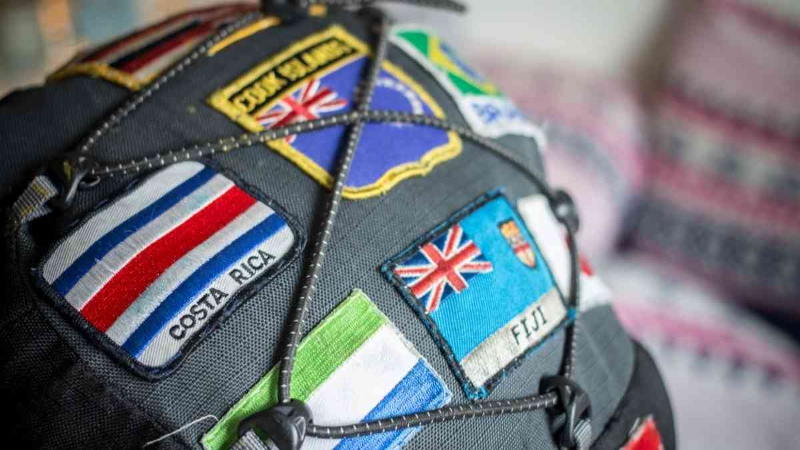
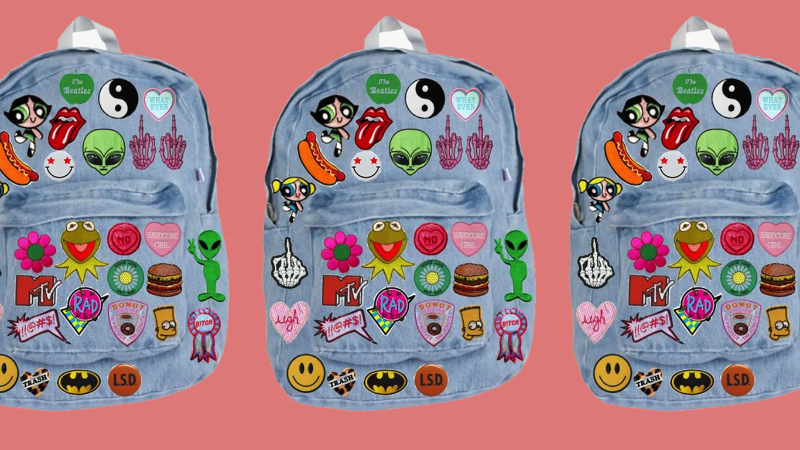
Consider both the backpack’s style and the patch’s design when choosing placement. Select patch sizes appropriate for the backpack; overly large patches might appear overwhelming while small patches might get lost. Visual balance is essential. Images showcasing creative patch placement and design ideas will help users visualize the process. Aesthetics and functionality should be considered.
Strategic patch placement contributes to the overall look of the backpack. Consider using patches to accentuate or complement existing backpack features or design elements. Visual balance and aesthetics contribute to the backpack’s appeal. Creative patch ideas inspire users to experiment with different looks.
5. FAQs about Iron-on Patches on Backpacks
5.1 Can I iron on a patch to a leather backpack?
Leather is generally unsuitable for iron-on patches due to its heat sensitivity. High heat can scorch or damage the leather, leaving unsightly marks. Alternative attachment methods, such as sewing the patch directly onto the leather or using a specialized leather glue, are recommended to avoid any damage to the material.
5.2 What if my patch starts to peel off?
If a patch begins to peel, there are several troubleshooting steps. Re-ironing with a pressing cloth can often restore adhesion. If re-ironing is ineffective, try applying a suitable fabric glue to the edges or around the patch’s perimeter. For a permanent and robust solution, hand-sewing the patch is the most effective method.
5.3 Can I remove an iron-on patch?
Removing an iron-on patch may involve applying heat with a dry iron to loosen the adhesive, followed by carefully peeling the patch away. However, you can use heat and adhesive to remove the risk of damaging the backpack’s fabric. Specialized adhesive removers are available for stubborn patches. Always test any remover on an inconspicuous area first.
5.4 How do I wash a backpack with iron-on patches?
To wash a backpack with iron-on patches, hand washing is generally recommended to avoid damaging the patches. If using a machine, choose a gentle cycle with cold water and avoid harsh detergents or bleach. Turning the backpack inside out before washing helps protect the patches from abrasion.
5.5 Where can I find cool iron-on patches for my backpack?
Numerous sources offer attractive iron-on patches. Online marketplaces provide a wide selection of unique designs. Craft stores often stock a variety of patches. You can also find patches from specialized patch retailers sometimes featuring designs tailored to specific themes.
6. Packlove – Providing Custom Iron-on Patches
Packlove offers superior custom iron-on patch services, combining extensive experience with high-quality materials and exceptional design capabilities. We create personalized patches tailored to your exact specifications, utilizing a diverse range of materials and printing techniques. Our team excels at bringing your vision to life whether you need embroidered patches, woven patches or custom designs. Browse our gallery for design inspiration.
To order custom patches or discuss your design ideas, contact us at +84 363615867 or infopacklove@gmail.com. Visit our website at https://Packlove.com/ to explore our services and view examples of our work. We offer no minimum order, making custom patches accessible to everyone.
Read more:
- Iron on Patches to Polyester: A Safe & Easy Guide – Packlove
- Gluing on Patches: Your Ultimate Guide to Perfect Application
- How to Attach Patches to a Jacket: Iron-On, Sew-On & More
Customizing backpacks with iron-on patches is a simple yet rewarding DIY project. This guide provides clear instructions and helpful tips to ensure a successful and aesthetically pleasing outcome. Try these techniques and share your unique backpack on social media! We’d love to see your personalized designs.


